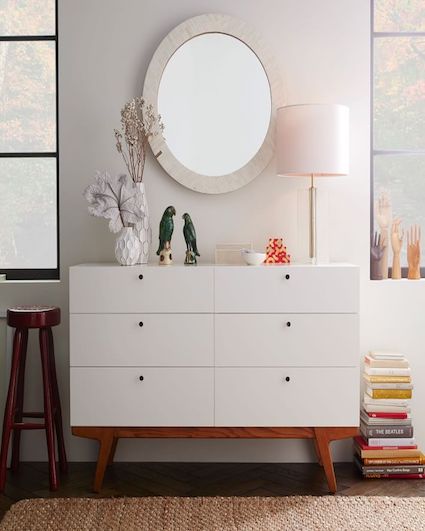
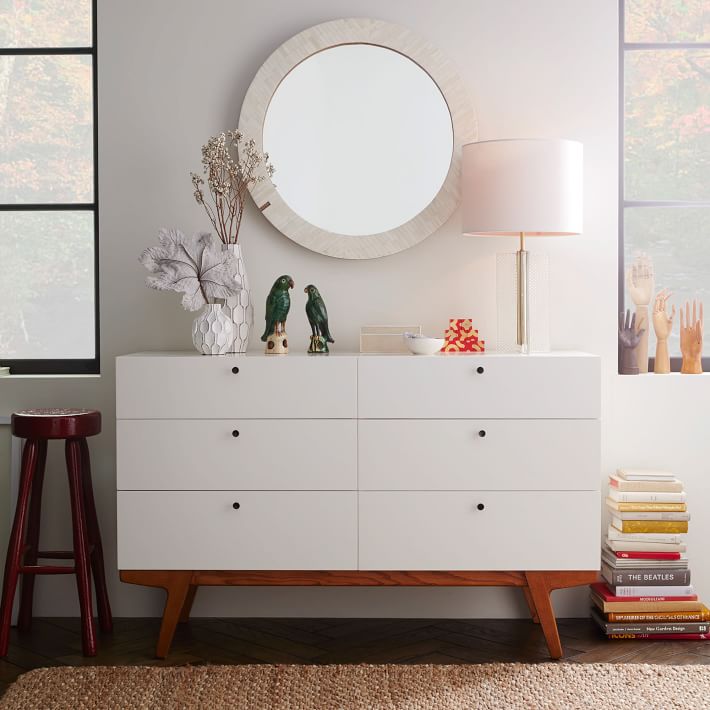
I am back with another do-it-yourself (DIY) post: a West Elm inspired Modern 6-Drawer Dresser! If you have not read my previous Ikea hack on how I transformed a basic nesting table into a faux marble table, check out DIY: Faux Marble Table (IKEA Hack). As you may or may not know, I am still in the process of decorating my apartment, and constantly looking for inspiration to create a space which reflects me. Inspired by West Elm’s minimal and Mid-Century aesthetics, I was inclined to recreate the Modern 6-Drawer Dresser. It is simple, yet, the ultimate statement piece to add to your home. Keep reading to find out how I successfully achieved this inspired look.
West Elm is a home furnishing retail store which originated in Brooklyn- with now over 90+ stores in US cities, and internationally in Canada, Mexico, South Korea, Australia, the UK and the Middle East. West Elm offers modern furniture, homewares and home decor (which are outside of my tax bracket; hence, the reason for this DIY project lol). However, West Elm has a wide selection of furniture and home decor items in various styles and designs.
Items you’ll need:
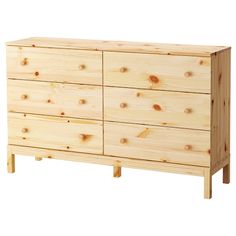
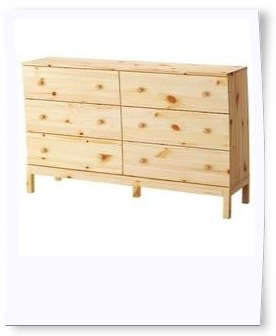
Tarva 6-Drawer Chest, Pine 
Mitre Saw 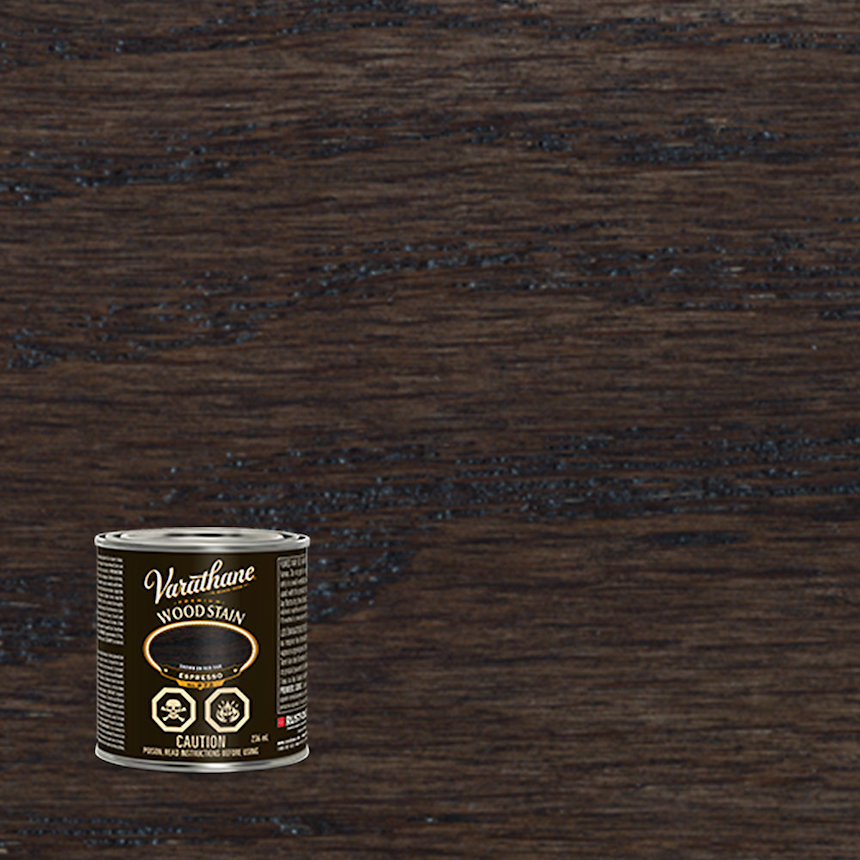
Wood Stain – Espresso 
Plastic Drop Sheet 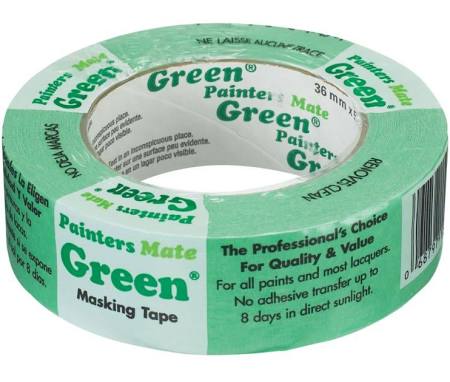
Masking Tape 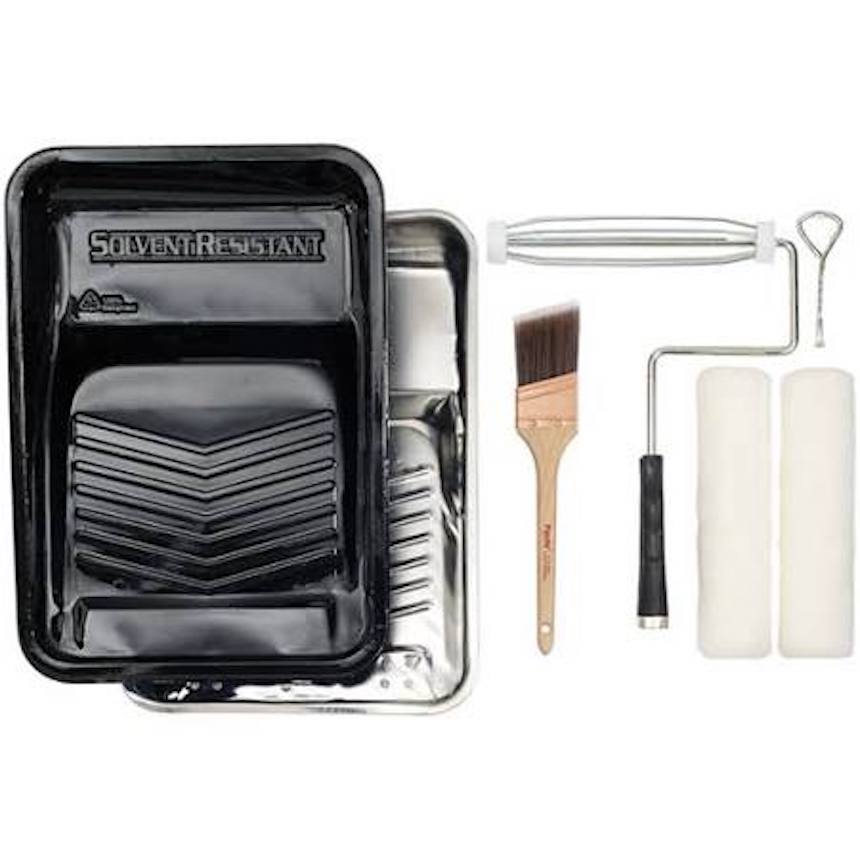
Paint Brush + Roller Kit 
BEHR Premium Plus -Interior Eggshell Enamel 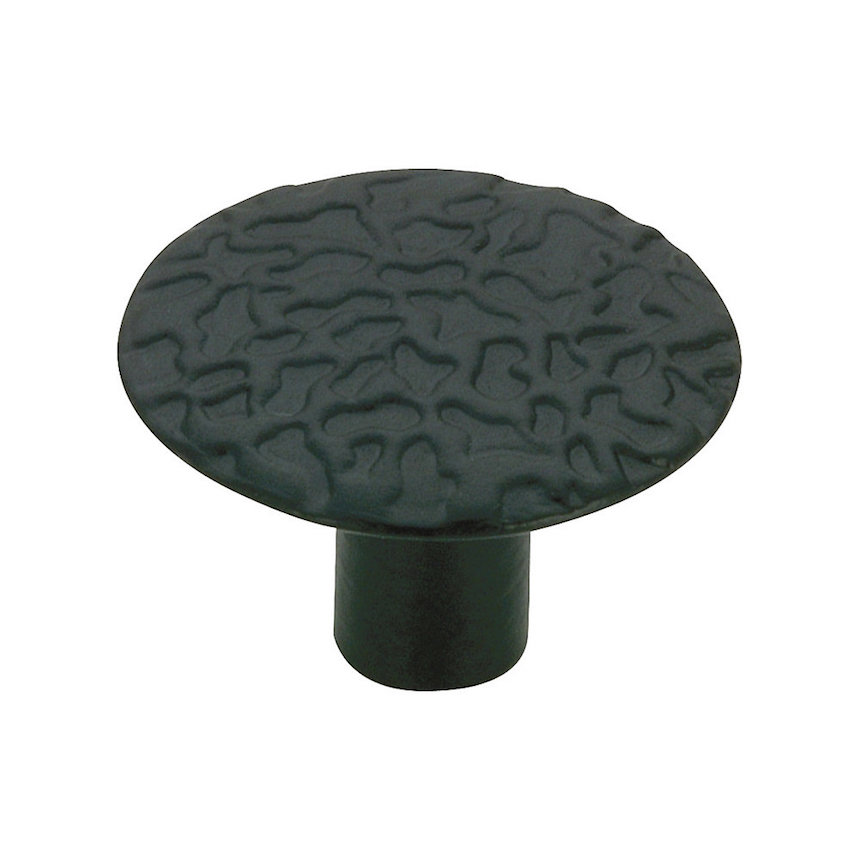
Richelieu Traditional Metal Knobs
Step 1:
Purchase
First, I purchased the Tarva 6-Drawer Chest from Ikea for $199 (before taxes). The Tarva is a simple design in untreated solid pine wood which makes it the perfect canvas to refinish. It does not require additional preparation; therefore, you can paint, stain or wax it to express your personal style.
Step 2:
Cu tWood
It is evident that the West Elm Modern 6-Drawer Dresser is quite simple with its minimal hardware, but what makes it unique is its Pecan-stained finish angled legs. Being that the base is the focal point, this would require additional steps such as cutting and staining the base, respectively. That being so, it was essential to set aside the legs and bottom frame prior to the assembly of the Tarva dresser.
Having said that, you will need a miter/hand saw to cut the legs at an angle. Note: ensure that you measure, mark, and then cut.
First, with a ruler I measured and marked reference points on each leg ; 4cm (1½ in) on the vertical edge and 2cm (.79in) along the bottom edge. Then, with the ruler, I connected the points and shaded the area to be cut.
S tory Time!
This step warrants the right tools or professional assistance. Also, for your information: The Cutting Centre at The Home Depot only straight cuts; no miter/curves. Do not be like me and find yourself attempting to cut wood with blades meant to cut pipes and wires. Nevertheless, as determined as I was, I managed to cut one leg at an “angle” but it was no easy task. It took me nearly 30 minutes to handsaw one leg. Keep in mind, I had three more legs to attempt.
Aside from the unwanted attention it drew, one customer suggested that I use a machine, and offered to cut the legs for me at his work site. Since his work site was five minutes away from the store, I took him up on his offer (don’t judge). At this point I was desperate — cutting that one leg took forever: it was done without the right tool/equipment too. What was a girl to do? Say, no? I commuted to The Home Depot for free service not to spend my money on a miter/saw. Then, to find out they do straight cut only.
Long story short, I got my legs cut under 5 minutes by a professional, who had the right equipment. The legs are not perfect but I am content with them. Thank you, Barry!
Step 3:
Assemble +S tain
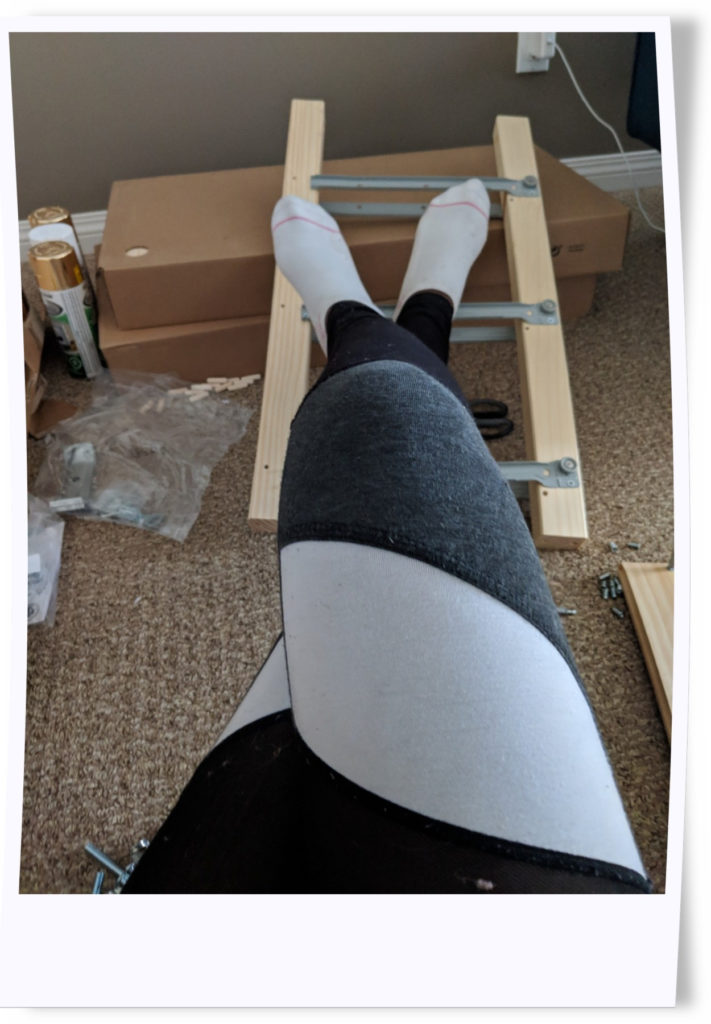
First thing I always practice prior to assembling any furniture is to prep my workspace. I lay out all the parts and hardwares, check for any damages/defects, and then skim through the instructions for additional tools that may be required.
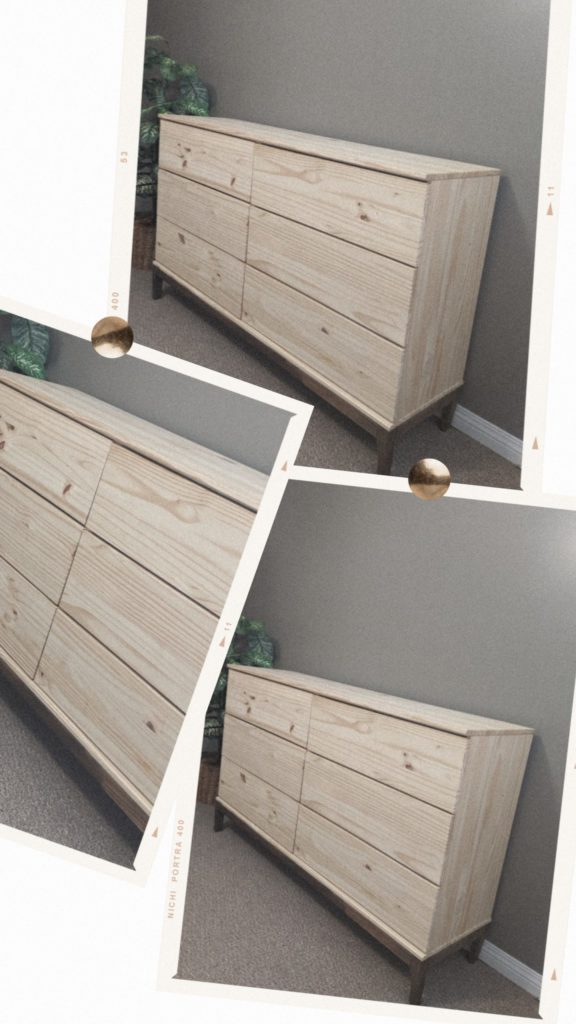
The Tarva dresser was purchased in mid-December 2018; however, the assembly process did not start until the last week of January.
This piece of furniture was by far the most frustrating piece of furniture I ever had to assemble. While assembling the dresser I did injure myself; for this reasons, take caution and get assistance, if you can — two heads are better than one.
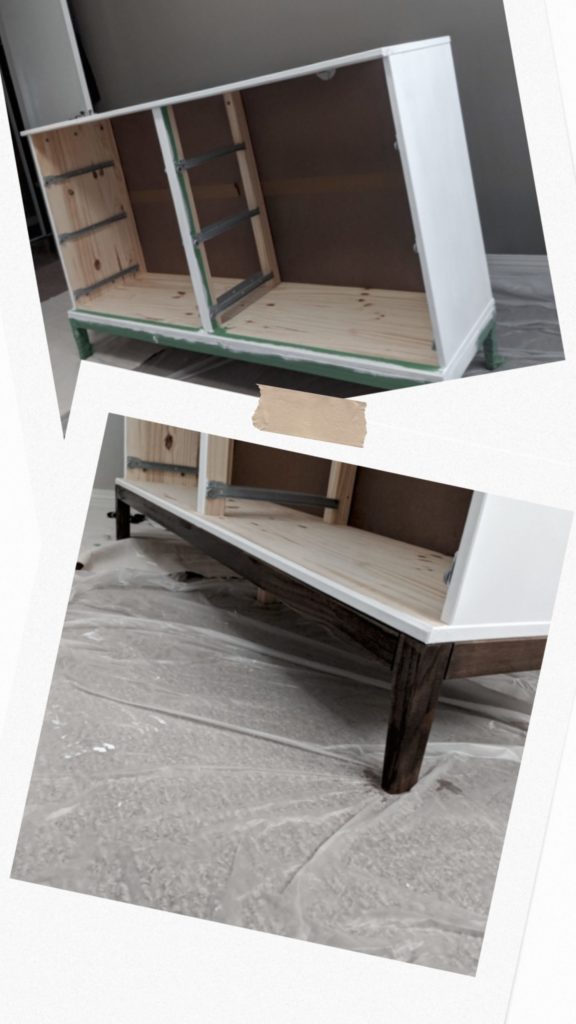
As I got to the base of the dresser, I then stained the legs and the bottom frame using leftover stain from my very first DIY project, in the colour Espresso. The stain colour you choose to use is entirely up to you: I just settled on what I had in storage. Once the stain completely dried, I assembled the remaining parts.
Step 4:
Preparation
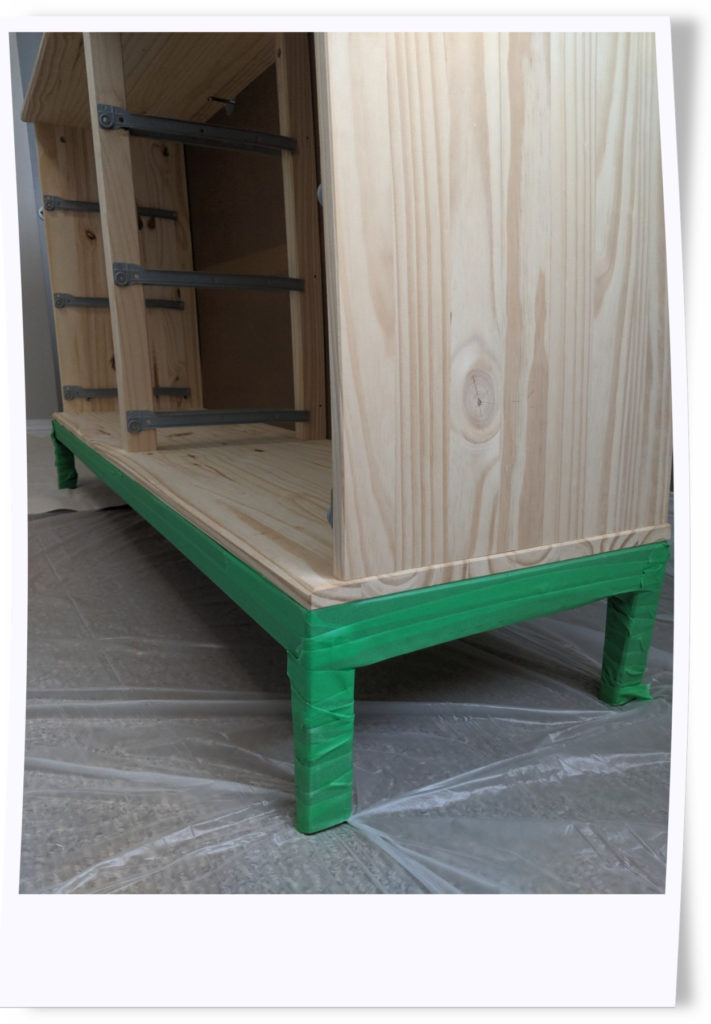
Fast forward to Remembrance Day weekend: the goal was to complete this project. I rearranged my bedroom; to create enough space to work in. I covered my floor with a plastic drop sheet to deter spilled paint from absorbing into the carpet, and then laid out all my supplies in preparation to get started.
Prior to painting, I lightly sanded the dresser (optional) with a 100 grit sandpaper to create a smooth surface and wiped it down with a damp cloth to ensure the surface was cleaned of any dust or debris. In addition, it was important that the base was fully taped, to prevent getting paint on the stained wood.
Step 5:
Pain t
Next, I painted the entire dresser in white using BEHR Premium Plus -Interior Eggshell Enamel, and applied two coats of paint for desired coverage and even results. For this step, I highly recommend using a good quality paint roller not only is it ideal for large furniture; it is less time consuming, easy, and produces a smooth-even finish on a smooth surface.
The paint application took two days to complete (drying time between coats included), but that is only because typical me added more work to my load than needed.
sTEP 6 (OPTIONAL):
Apply Pain t to the Drawer Sides
I regret entertaining this step. It was a last minute decision, and I had already applied paint on one side of the drawer; therefore, it was only right to complete what I had started.
Initially I had not planned to paint the sides of the drawers but I was pleased with how things were going. What could go wrong? Here is what went wrong: I thought would be a good idea to apply paint with the same paint roller I used for the larger surface on the sides of the drawers (FAIL! Clearly I was not in the right state of mind!).
Note: if you decided proceed with this step make sure to purchase a mini roller for a smooth application. I ended up using a cheap paint brush I found in storage to complete the task. Although, it left brush strokes, and the application was not even or smooth I had to make do with it. Ultimately, it did not make or break the dresser but it was a step that I could have skipped.
step 7:
Add Knobs
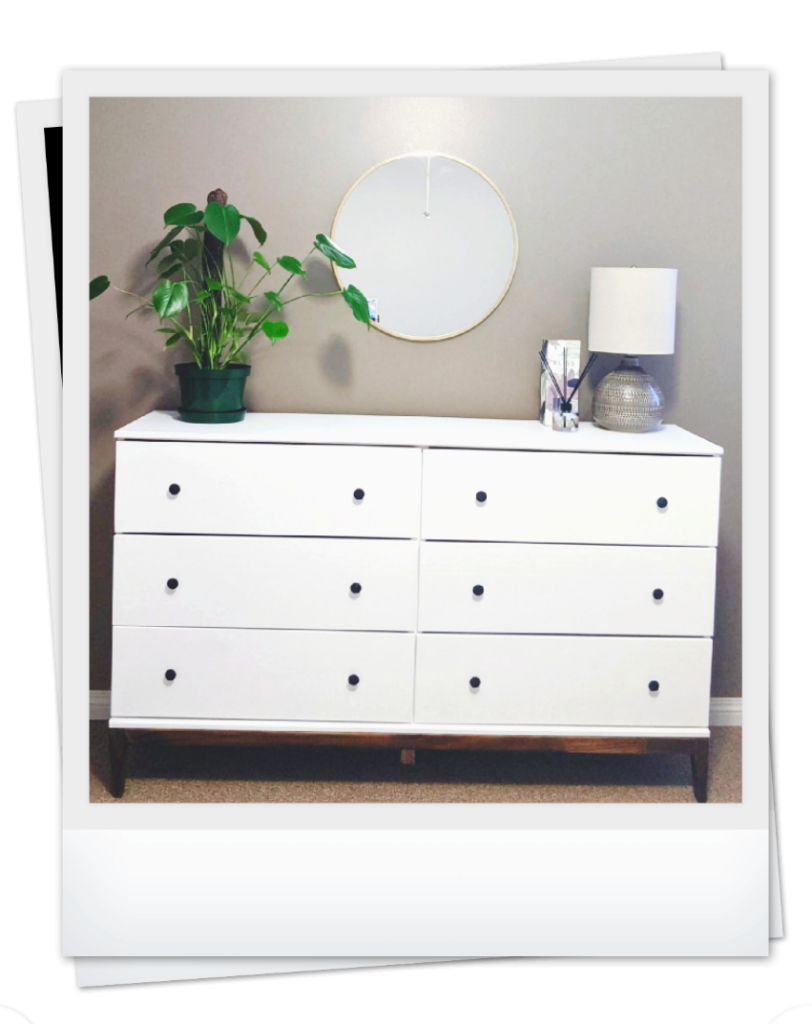
Lastly, for the final touches and functionality purposes, I replaced the Tarva knobs with affordable black Richelieu Traditional Metal Knobs purchased from The Home Depot to complete this West Elm inspired look.
Final Look& Thoughts
Overall, I am happy with the transformation of my dresser — it is my perfect imperfection!
What is beautiful this project, is that you are not limited to one style. You have creative rights to alter your work to reflect your style, personality, and mood. So, be free, have fun, and trust the process.
And this wraps up my final DIY of the year. In the comments below let me know what you think of the dresser, and if it has inspired you to start your own DIY project in the new year.
Until nex tTime!
– xo
Leave a Reply