Now, what would be the purpose of a hair blog if I didn’t share my hair regimen? Building a hair regimen/routine can be an overwhelming process, especially when you don’t know where to start. For a long time, I struggled with, creating one that catered to my hair needs. I was too fixated on duplicating products, techniques and styles that the next person was implementing in their regimen, thinking that, I too would experience the same results in achieving healthier and longer hair. However, what I failed to understand was, ‘what may work for others may not necessarily work for you.’ That was a hard pill for me to swallow, as I’m sure some of you can relate; duplicating others only led to a dead end. I’ve now figured out a routine that works for me, which is quite simple, and I’d like to share it with you all.
First things first,, I typically wash my hair once every two weeks.….
STEP 1:
Pre-poo – an oil treatment applied to the hair prior to shampooing or conditioning.

Twist hair in sections!
hair tends to be very dry; therefore, this step is crucial for me, not only does it soften the hair, but it also improves manageability; making it easier for me to divide and twists my hair into sections.
Step 2:
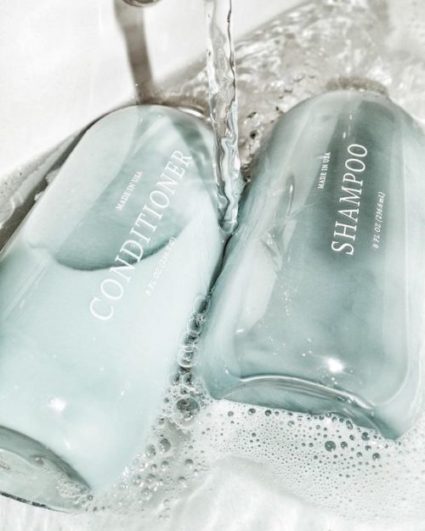
Shampoo – a cleansing agent.
Step 3:
Deep Condition – a formulated deep treatment; moisture or protein that restores and strengthens the hair.

Deep Conditioning Time!
After shampooing I always follow up with a deep moisturizing conditioner. This step is an imperative part of my hair regimen that I DO NOT skip. Not only does deep conditioning nourishes my hair strands; it softens my hair, increases moisture, improves elasticity and manageability. I apply a “generous” amount of conditioner coating each strand of my hair working in sections, really focusing on the ends (as the ends are the oldest part of your hair) while thoroughly finger-detangling, removing any shed hair and then I proceed to re-twist each section.
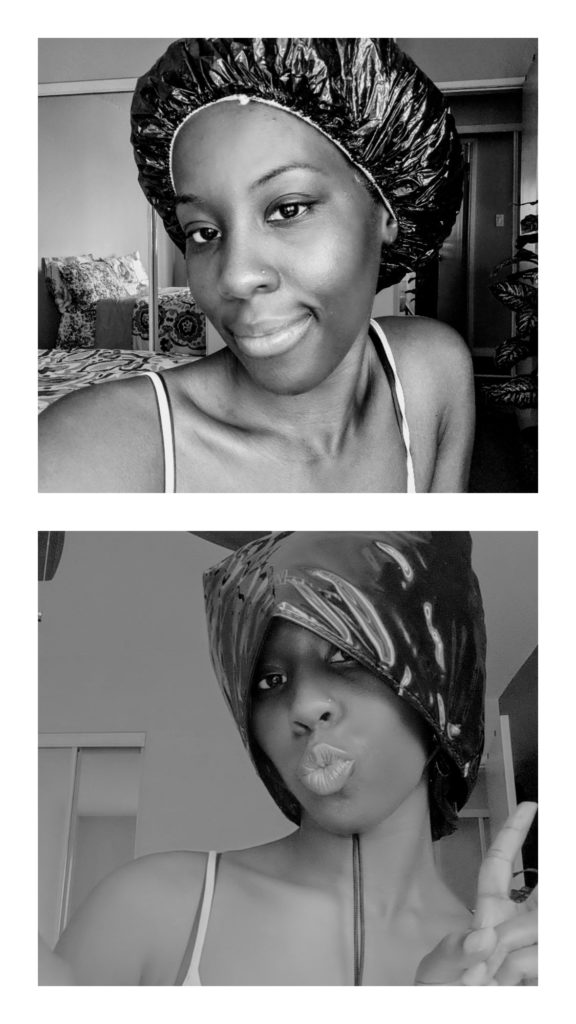
After I’ve applied conditioner throughout the hair, I cover my hair with a conditioning cap or a plastic bag and sit under a heating cap for a minimum of 45 minutes as I go about my business/running errands. It’s important for me to generate heat or apply heat during this step. Applying heat opens the hair’s cuticle for a better deep conditioning treatment. It allows the product to penetrate the hair shaft ensuring that the hair receives the proper nutrients to remain healthy. I then rinse the conditioner out with cool water for a final rinse. Rinsing with cool water closes the hair’s cuticle; retains moisture from the conditioner, increases shine and reduces hair frizz.
(optional):
Leave-in Conditioner – a conditioner in the form of cream/liquid that provides further moisture and/ keeps the hair hydrated.
I make my own do-it-yourself (DIY) Aloe Vera leave-in, that I usually use after step 3 or throughout the week. If you like to know how I make my DIY Aloe Vera leave-in, let me know in the comments section below.
Step 4:
Moisturizer – Water!
A good indication that the product you’re using is a good moisturizer is to check the ingredient list. A good moisturizer will always contain water as a first ingredient. After rinsing out the conditioner, I use a cotton fabric to gently squeeze out any excess water, so my hair is not soaked prior to applying any product(s). I avoid using a towel to dry your hair. Towels not only absorb the moisture out of the hair, but it also causes my hair strands to tangle and knot. How I apply a moisturizer to my hair is very simple and straightforward. Again, I take down each section of my twist and apply the product with my fingers, ensuring that it reaches every strand and then I proceed to re-twist.
Step 5:
Seal – to lock moisture within the strands using oil or butter.
After moisturizing, I layer a light coat of oil on top of each section of my hair. This step ensures that I retain moisture for approximately two days before reapplying. It’s crucial to add a sealant after moisturizing; because the oil acts as an outer barrier, preventing the moisturizer product from evaporating the hair shaft. If your hair isn’t properly moisturized and sealed, your hair will experience dryness which will eventually lead to breakage. Some individuals like to take it a bit further and seal by layering a butter on top of the oil, and that’s totally fine. I personally don’t like to add too many products to my hair, especially having thin hair, I find it weighs my hair down. Once I’ve finished sealing, I wrap my hair in a satin scarf and call it day. Whew, chile!
Step 6:
Protective Style – a style that requires minimum manipulation, preserves the ends of the hair; by keeping it completely out of sight, and is achieved without applying heat.

Protective Style : Low Bun
I am very basic when it comes to styling my hair; I stick to the same style for many reasons, but we’ll get into that in another post. Now for the infamous style that I just can’t get enough of,drumroll, please… it’s the sleek low bun (with a middle part)! Honestly, I’ve worn this style so much to the point of my mom despising it. Nonetheless, this style protects the ends of my hair from friction, especially during the colder months when I’m literally bundled up from head- to-toe. Over the course of the week, I always make sure to refresh my style by simply moisturizing and sealing and/or misting my hair with a DIY daily moisturizing spritz.
There you have it, my hair regimen. Again, this is what works for me. Everyone’s hair needs are different.
Let me know in the comment section below what steps you incorporate in your hair regimen.
Happy Wash Day!

Leave a Reply
You must be logged in to post a comment.