Recently I reviewed the Outre Melting Hairline Lace Front Wig, Kamiyah, and now I want to share with you step-by-step on how I installed this beginner friendly unit. Disclaimer: I am by no means a hairstylist, so expect the bare minimum with this application process.

Kamiyah Hair Installation
What You Will Need:
• Wig Cap
• Scissors
• Concealer and/or Foundation
• Göt2b Glued Blasting Freeze Hairspray
• Blow Dryer
• Comb
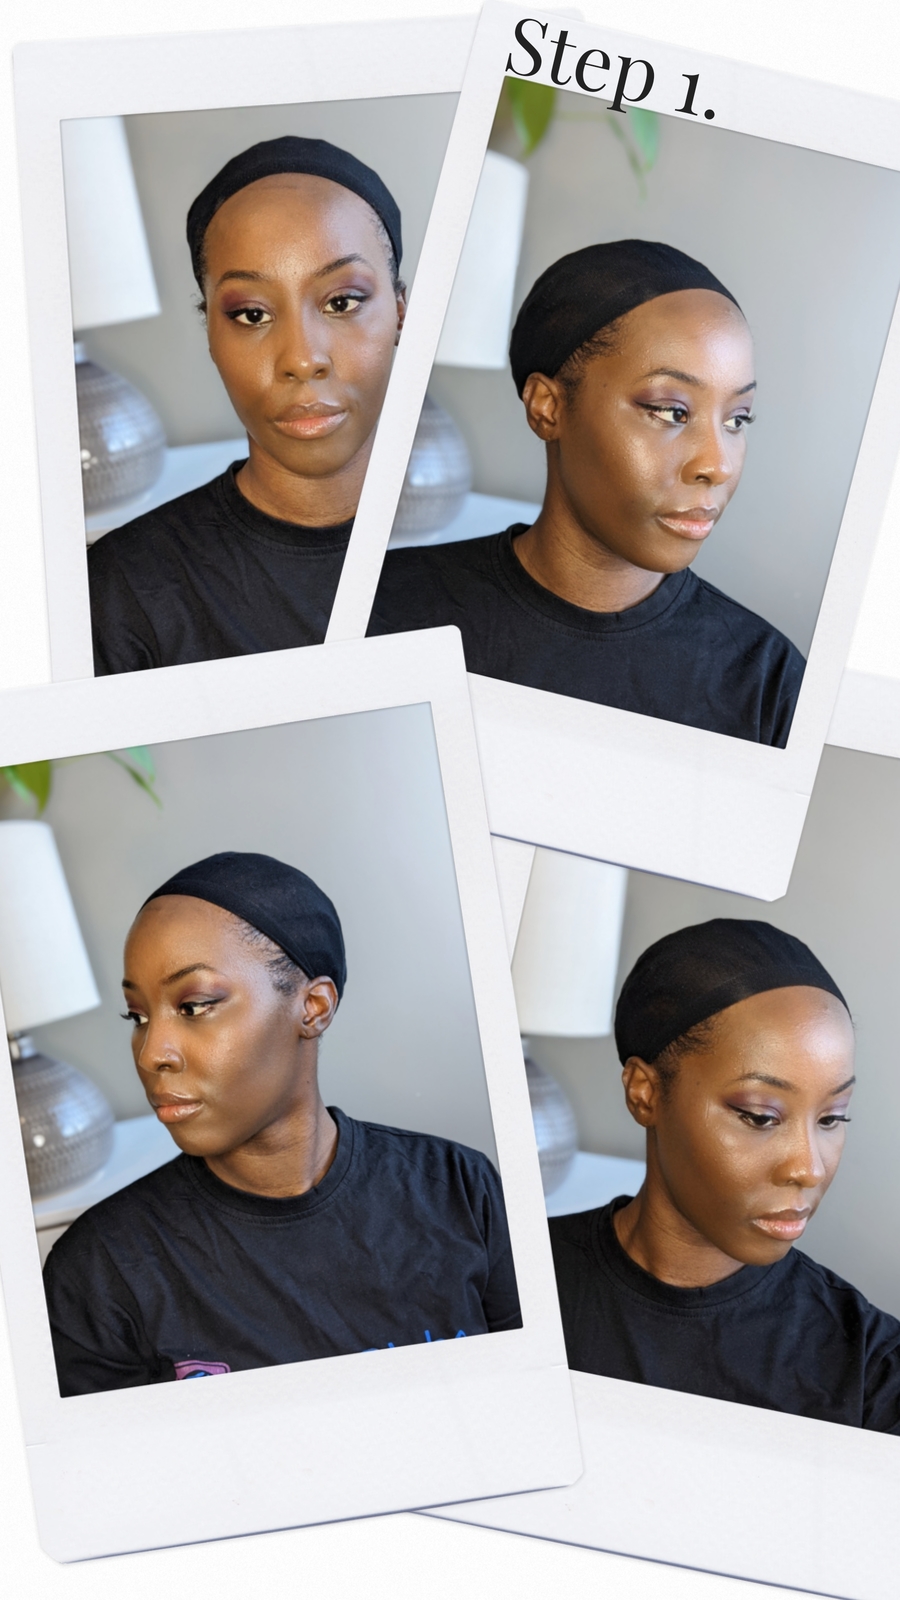
Step 1: Put On A Wig Cap
First, I laid my hair flat with cornrows and then put on a black wig cap which was included in the Outre Melting Hairline Lace Front Wig package.
Step 2: Cut lace off the wig
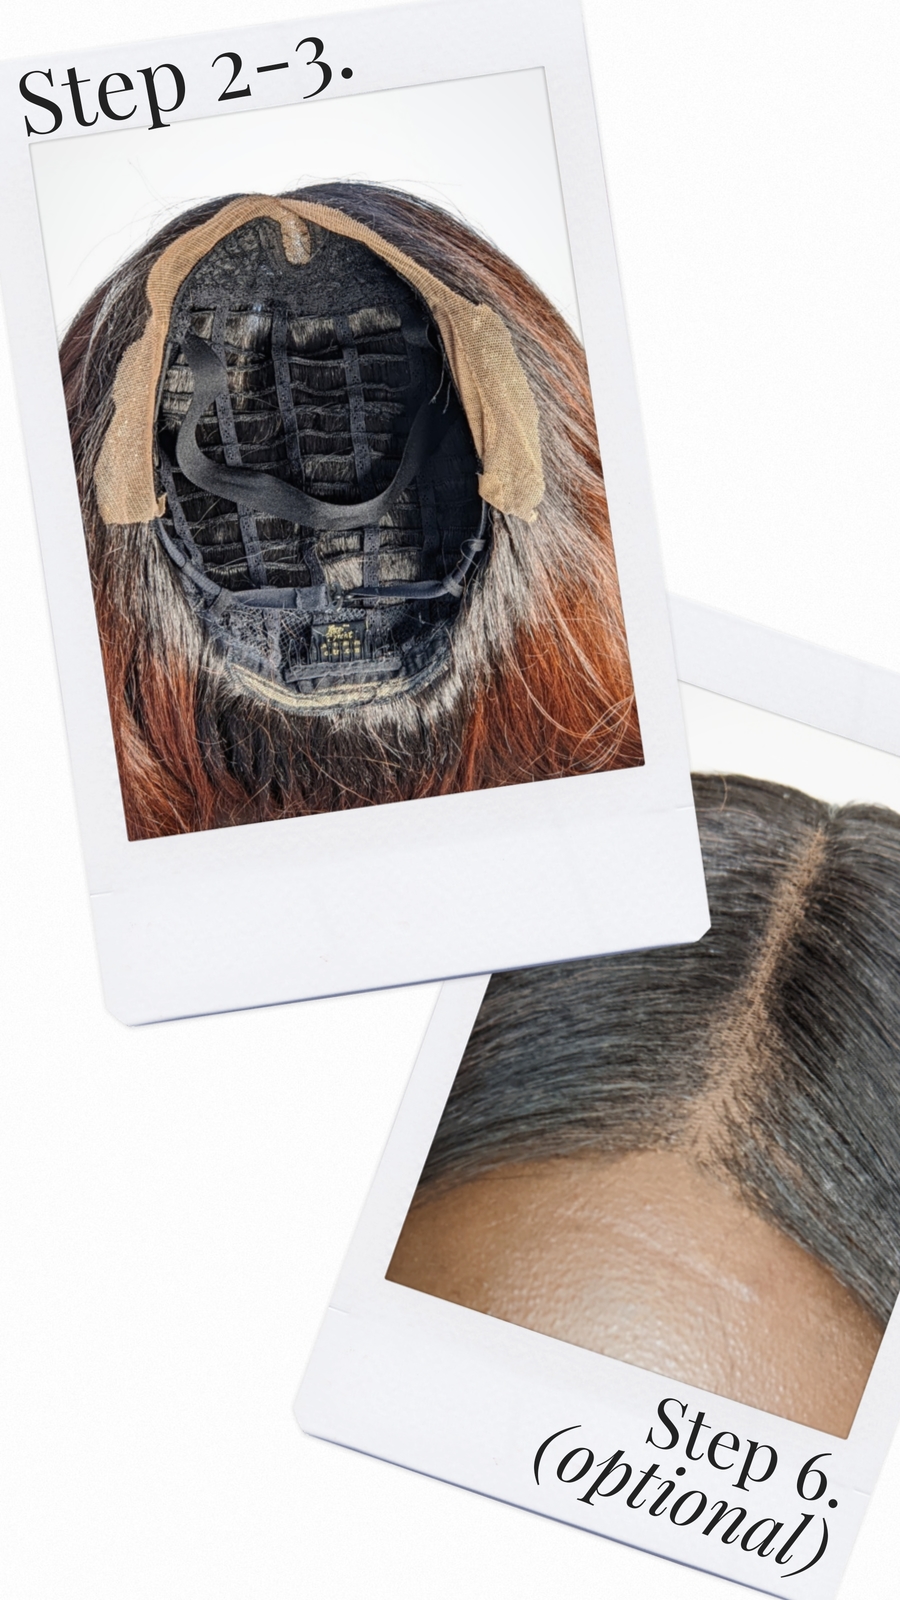
Then, I proceeded to place the unit on my head, adjusting the unit so it is centered and in alignment with my hairline to cut off the excess lace along the hairline.
Step 3: TINT LACE FRONTAL
After cutting off the excess lace, I removed the wig off my head and tinted the lace frontal with foundation to match my skin tone, then carried on to Step 4.
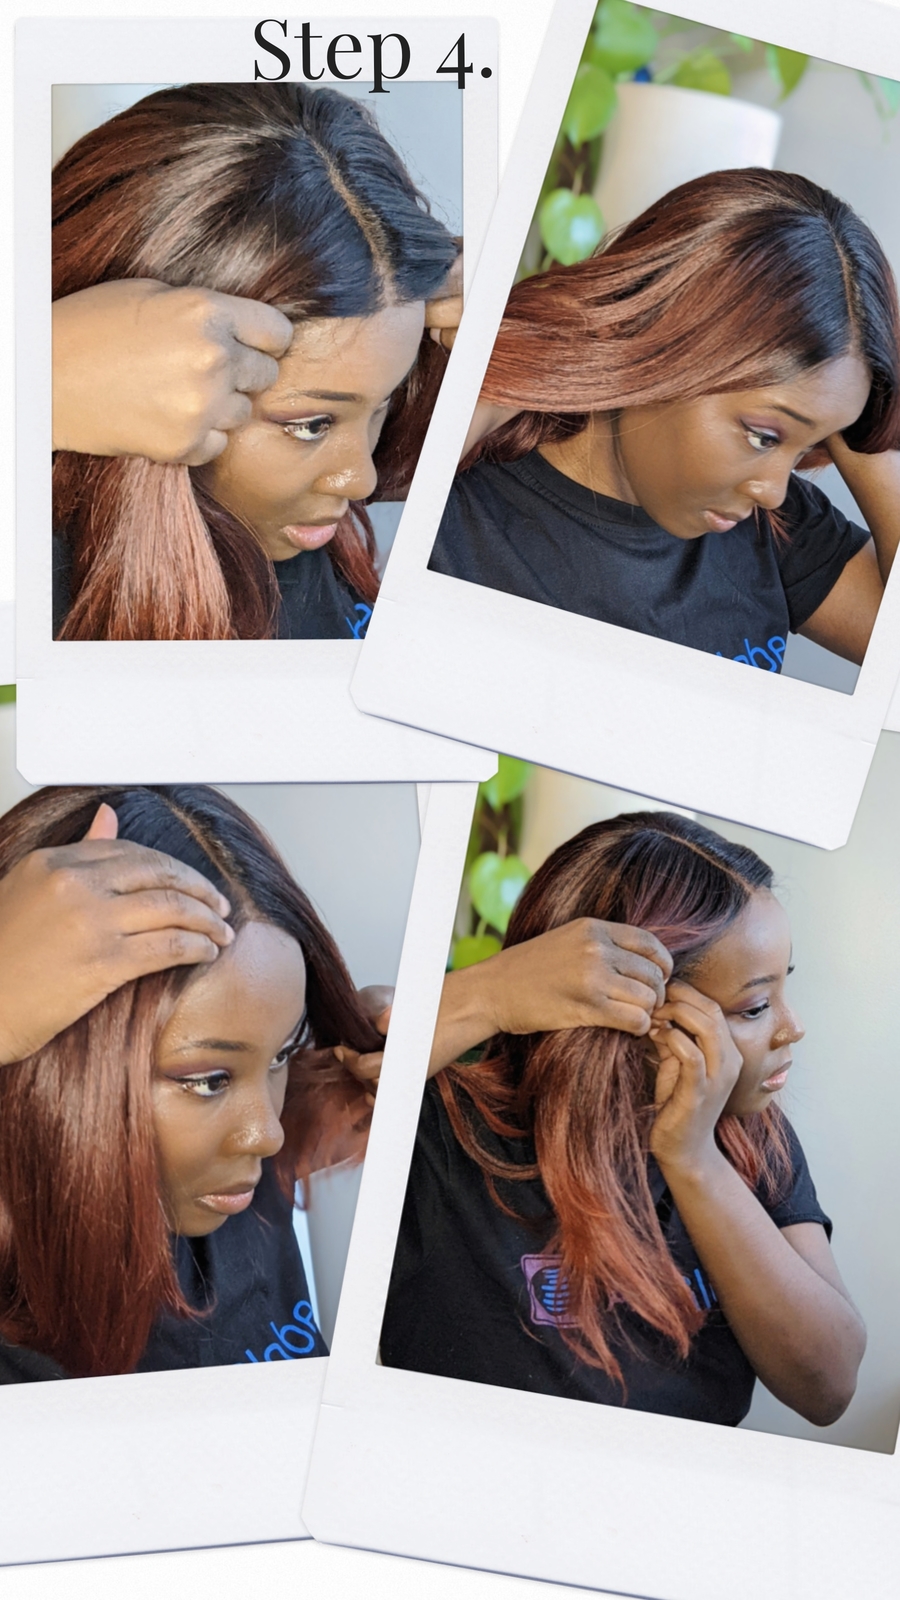
Step 4: Adjust secure wig to head
Next, I adjusted and secured the unit to my head using the pre-attached wide elastic band to secure the fit. For additional unit support there is the option of the wig combs, but I omitted from using it.
Step 5: Apply lace wig adhesive
Finally, I applied Göt2b Glued Blasting Freeze Hairspray along my hairline (not directly on it – to prevent edges from damaging), using a blow dryer to adhere the unit.
Step 6: Customize/style (optional)
This step is optional, but I went in further and tinted the 5″ deep parting with makeup concealer to achieve a realistic scalp. I then applied Göt2b Glued Blasting Freeze Hairspray on the crown of the wig (as it appeared a bit bulky). Finally, I used a clothing iron (as I do not own a hot comb) to iron the crown to attain a sleek laid look.
Kamiyah Hair installation
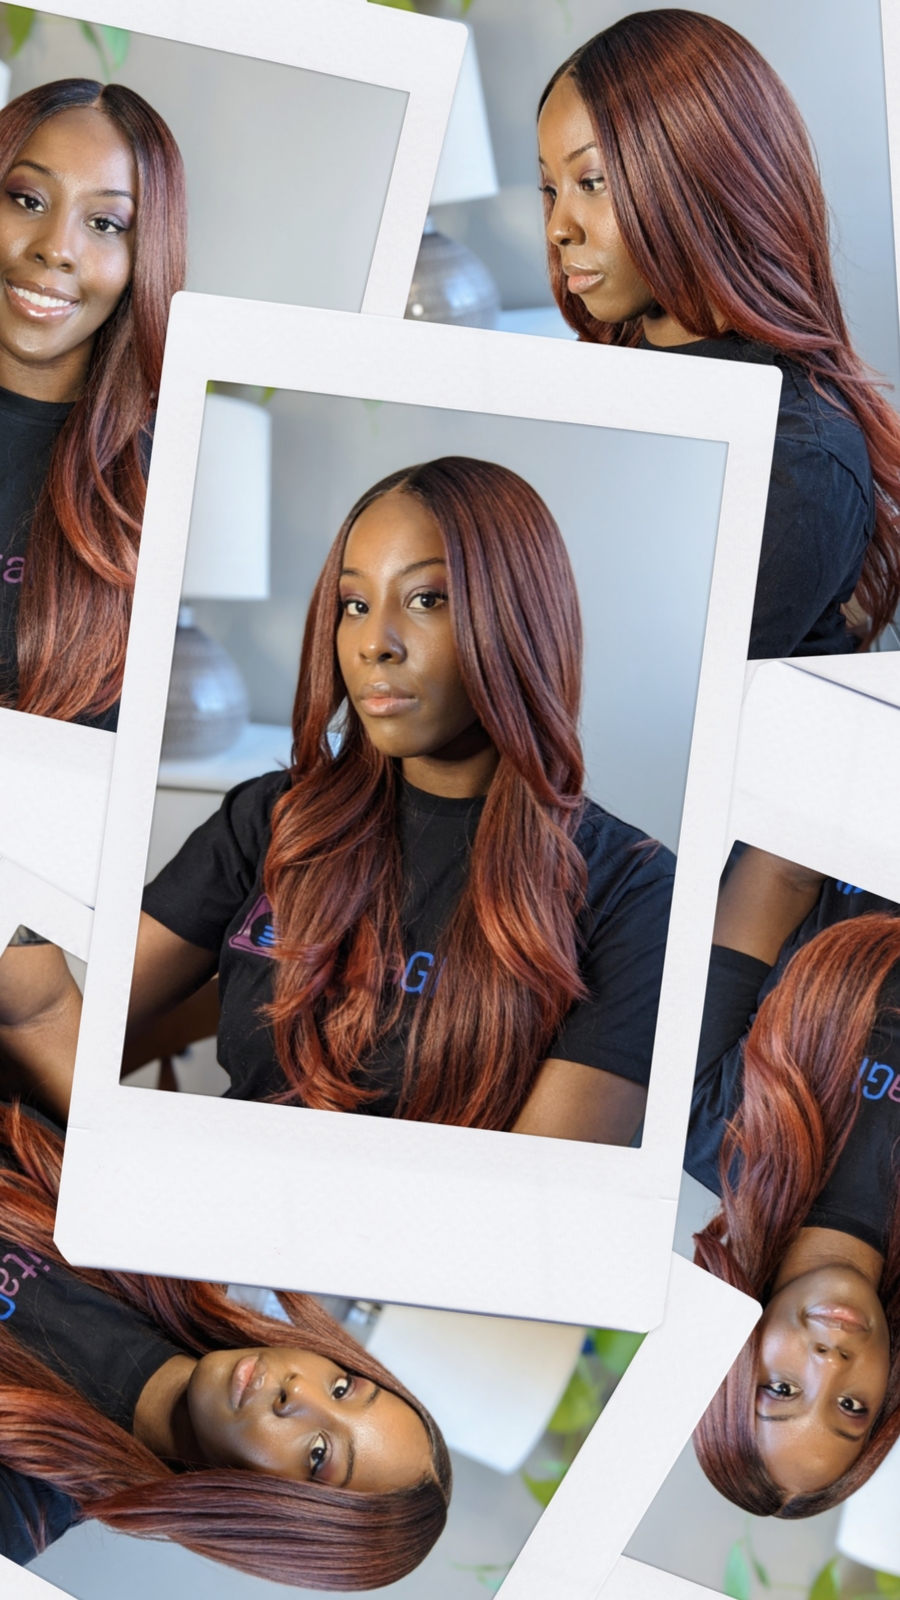
The Final Look
Leave a Reply