Head wraps, headscarves, and head ties are often used interchangeably when referring to head coverings. There are a number of reasons why we wear them such as religious purposes, cultural attire, fashion accessory, or even to protect our hair. Head wraps come in various colors, patterns or prints, sizes, textures and fabrics. Regardless of how a head wrap is worn, it is true to say that they are perceived as a statement piece — a clear expression of our personality, value and beliefs.
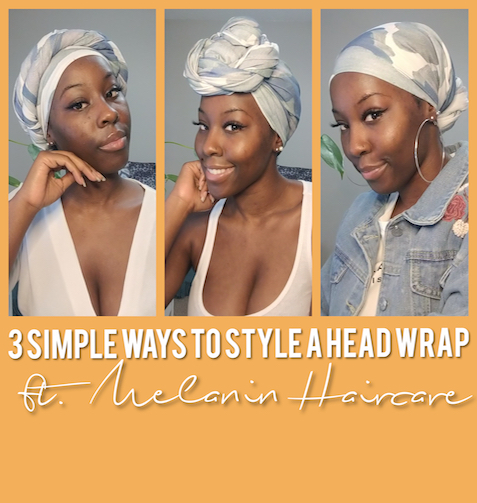
I am going to share with you, step-by-step, three simple ways I style a head wrap as a fashion accessory and/or a protective method featuring the Melanin “Better Than Cotton” Head Wrap (Blue Wave). Also check out my Melanin Haircare: Multi-Use Softening Leave In Conditioner Review, if you have not done so already.
Disclaimer: the outcome may vary depending on the type of fabric and size used to achieve any of the following styles.
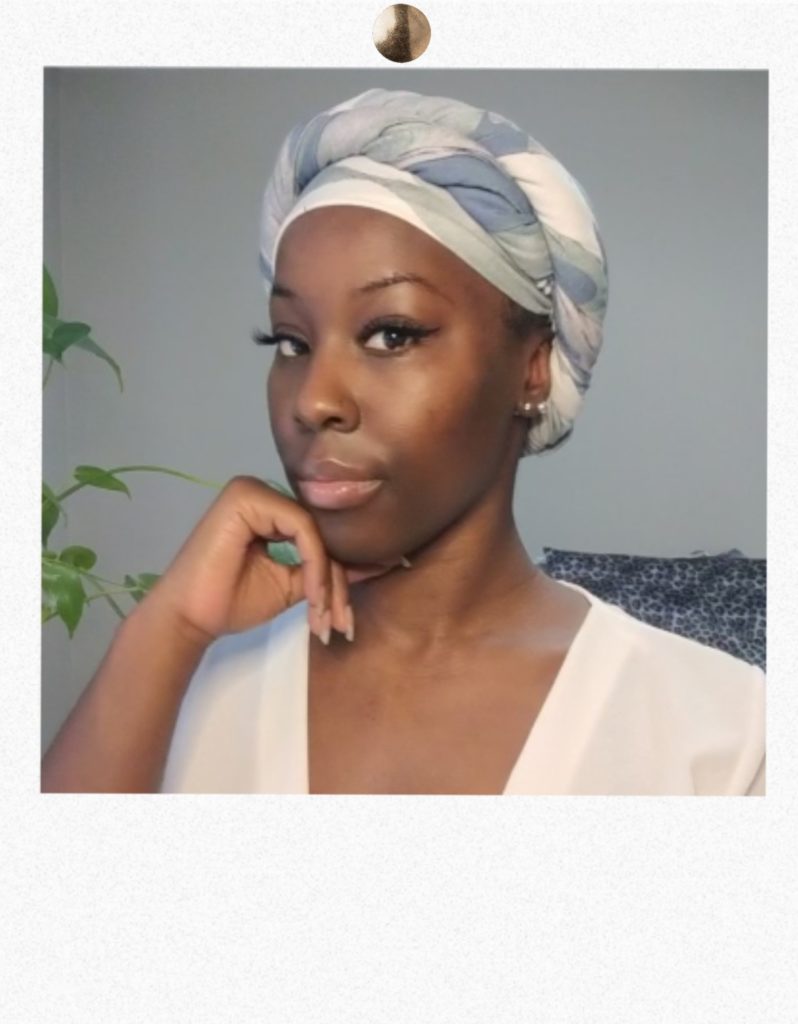
1. Crown Royal
Steps:

- First, center the head wrap on top of your head; covering about 1cm of your forehead.
- Grab both sides of the hanging ends (ensure the ends are even by adjusting the placement of the head wrap) to the back of your head.
- Then, with a firm grip on both ends, take one side (left or right) of the ends and cross it over the opposite side, gently tighten both ends and bring them over to the front.
- Take one side of the ends and, using both hands, twist the fabric all the way down.
- Next, take the twisted end bringing it all the way around the front of your head, and then tuck the excess end into the fabric to secure it in place.
- Finally, repeat steps 4 and 5 to the hanging ends on the other side to complete the look.
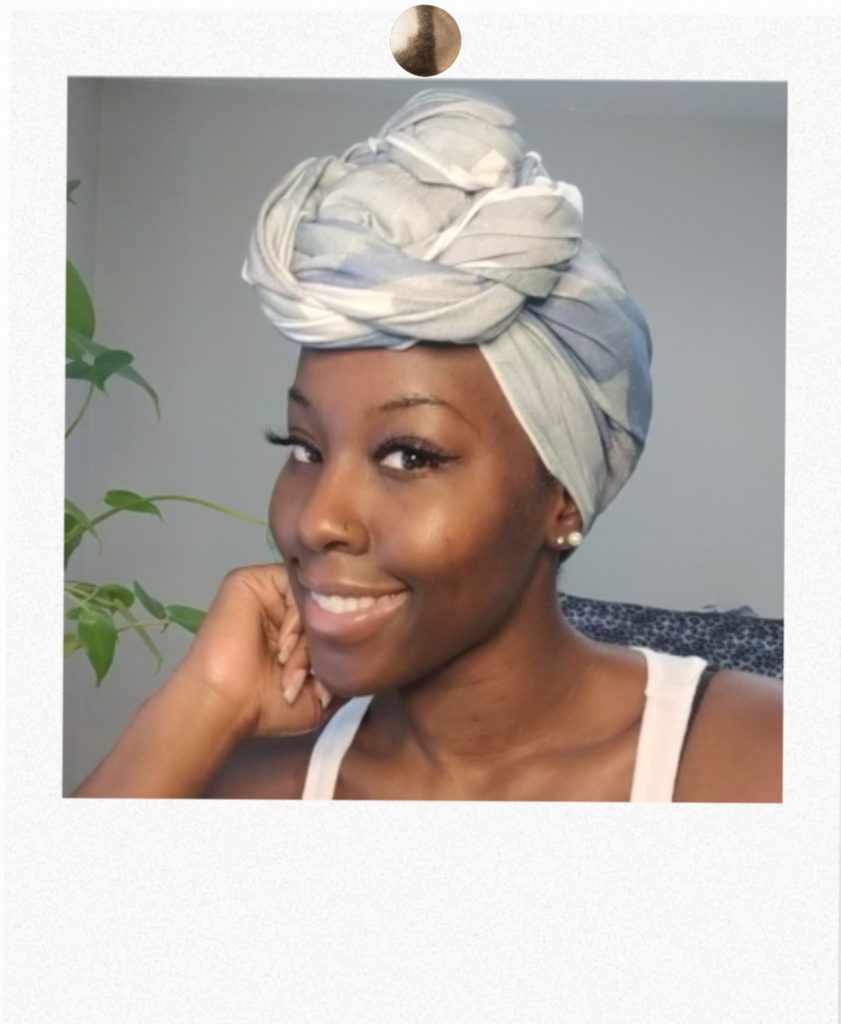
2. Rosebud
Steps:

- First, center the head wrap over your head.
- Ensure the hanging ends are even on both sides. Then, tightly tug on both ends (left and right) bringing them to the front.
- Then, take an end in one hand (for this example, let’s use the right hand) over to the opposite side.
- Hold and tug the end on the opposite side (left); lifting your middle, ring and pinky fingers grab the end on the opposite side, releasing your right hand free from the fabric — this will create an insert for later step.
Are you still with me?
- At this point, one end (in this example, the right) should be crossed over to the opposite; while three fingers on your left hand grips onto fabric, and your remaining fingers (index and thumb) continue to hold and tug onto the fabric.
- Next, with your right hand, grab the end of the fabric from underneath the left hand over into the insert you created, and then pull both ends up and down creating a basic knot.
- Take both ends and do a two-strand twist — crossing the left end over to the right until you reach the end of the fabric.
- Finally, Take the two-strand twist over to the left; roll it around the basic knot, gently tugging as you go so the bun stays put, and then with the excess fabric (that should sit in front of your face) tuck it in the right side of fabric to secure.

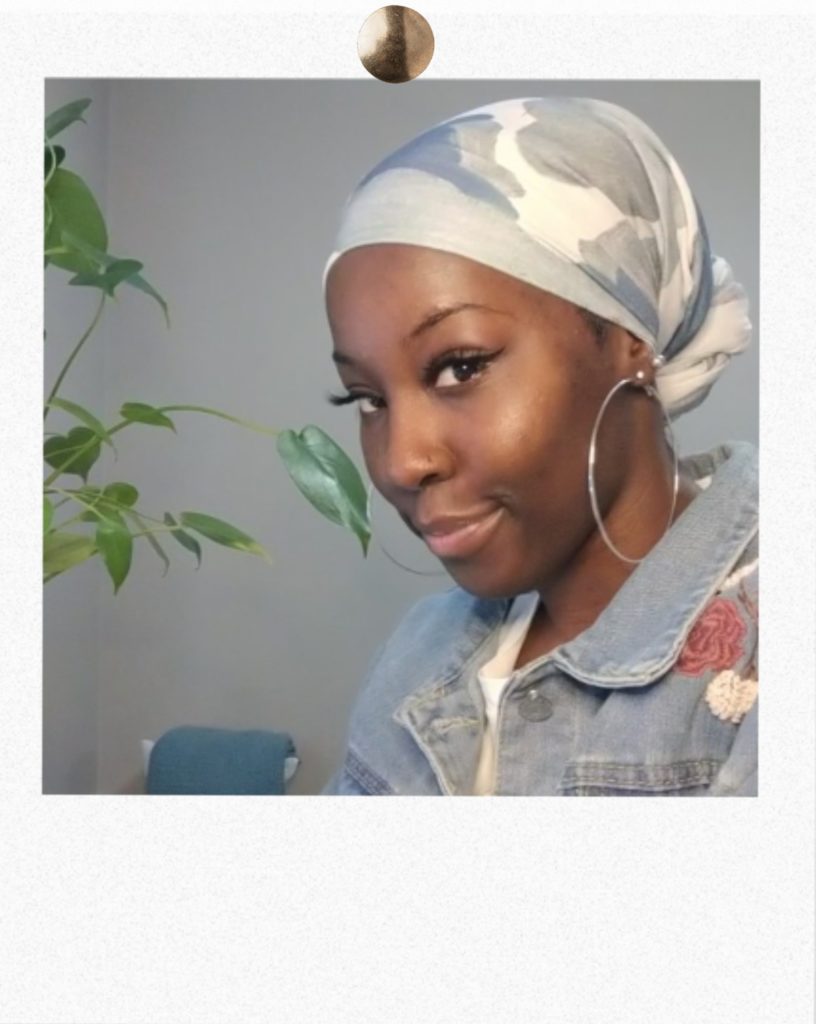
3. Sweet Roll
Steps:
- First, center the head wrap on top of your head.
- Grab both sides of the hanging ends (ensure ends are even by adjusting the placement of the head wrap) to the back of your head.
- Then, with a firm grip on both ends, take one side (left or right) of the ends and cross it over to the opposite side, gently tightening both ends.
- Take both ends and do a two-strand twist — crossing the left end over right, until you reach the end of the fabric.
- Finally, take the two-strand twist over to the left and roll the fabric around. Then after, tuck the excess fabric into the bun to secure it.
In The Comments
I hope you found this helpful! Let me know in the comments which look was your favourite — the Crown Royal, the Rosebud, or the Sweet Roll?

Leave a Reply